Photobucket Photobucket Photobucket Photobucket Photobucket Photobucket

Sunday, April 29, 2012

How to Watermark Images Without Photoshop

With picnik.com closing and becoming a Google product, a lot of bloggers are stuck looking for online photo editing alternatives. Aside from designing basic party printables, I relied on picnik for watermarking images on my blog. Today I'm incorporating ideas from MADE and Kent Weakley to show you {in less than 10 steps} how to (1) download free fonts, (2) create a .png watermark file with transparent background and (3) how to watermark an image without Photoshop. 
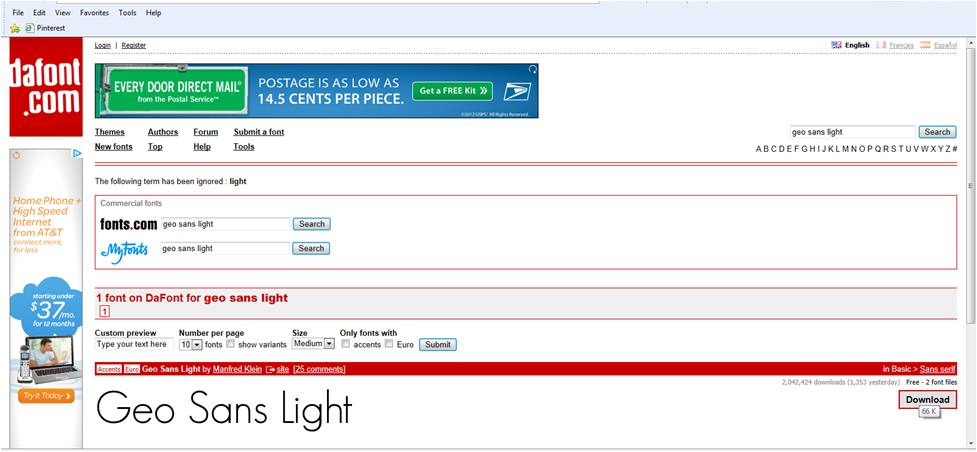
PicMonkey and ipiccy are free online photo editing sites, but they don’t offer the font I use to watermark on my blog (Geo Sans Light).  Fotoflexer.com doesn’t have my font either, but it does allow adding an image (my watermark) as a layer onto an existing image (the image I want to watermark). PERFECT! Fotoflexer also integrates with Picasa and other sites, which makes it easy to create your own blog buttons {as a blogger/blogspot user}. Come back tomorrow to learn how to make your own blog button.
  1. Download font {for FREE from dafont.com or another source}.

  1. Install font on computer: I'm on Windows 7 and all I had to do was unzip the files I downloaded and right click on "Install".

  1. Create watermark in Microsoft Powerpoint: Insert text box. Type using your new font. Resize as big as you can. Change colors as desired. I like my watermarks to be white, but left it black in the following steps so you could see my text.

  1. Make background transparent: Right click on the text box à click on the paint bucket à select "more fill colors". At the bottom, set "transparency" to 100%


  1. Save the text box (not the powerpoint file) as a .png file: Right click on the edge of the text box à click on "Save as Picture". Select "png" from your drop down of file types.


  1. Upload picture to be watermarked to fotoflexer.com. My picture is already fully edited and just needs a watermark. If you need to edit yours, do so now.
  1. On the "Layers" tab, click on "Add images." Select your .png watermark file. Adjust the size and placement. Change the opacity if you want. 


  1. Save, done!

You only have to do all the steps the first time. After you have your watermark .png file saved, you only have to do steps 6-8 when you want to add your watermark to images.

See! Who needs Photoshop!? Just kidding, I would love Photoshop. Would you like to contribute to my Photoshop fund?? My husband would appreciate it. J


{linked up with Tatertots & Jello} and:
Home Stories A2Z

Friday, April 27, 2012

Where I've Been

Happy Friday everyone! It's been a little quiet over here, but in the past few weeks lil mama's been popping up on a few sites. Thank you all for the recent features! {click on the pictures or links}

Craftaholics Anonymous | Washi Tape Projects {menu & gift wrap}
Craftaholics.net

Pizzazerie | Pink & Grey Striped Birthday Party

Chickabug

Baby Lifestyles
DIY Thin Mint Cookies
Pink & Green Polka Dot Dol {Korean 1st Birthday}
I Was Featured at Baby Lifestyles

River North Love | Guest Post: 10 Party Planning Tips

Hop on over to check out my featured projects, parties and posts! Thank you for spending a {few minutes} with me

Monday, April 16, 2012

Maya & Jenelle

This weekend was Maya’s 2nd birthday. Didn't her mom do such a good job making this Minnie Mouse cake?!

You’ve seen Maya at 6 months, 12 months, 18 months and now here she is for her 2 year portrait session. 
{click on pictures to go to each post}
  

You’ve also watched Maya’s little sister, Jenelle, get SO big from 1 week, 3 months, 6 months and now 9 months. These girls are near and dear to me as I’ve been friends with their mom since we were three years old!
{click on images to go to each post}
 

We started our portrait session at the park...

Then took a walk around the block. Mia happily tagged along while mommy "worked".

Maya and Jenelle sure made me work for some smiles! At an hour and a half, it was definitely the longest walk around the block Andrea and I have ever had. But we’ll just call it “quality” time together with our girls. And it worked out just fine!

Thank goodness for beautiful Spring weather!

After lunch it was time to head inside...

Don't you love Maya's big beautiful eyes...

Then it was on to baby sister Jenelle, who just like last time, loved my bedroom!

At six months old, Jenelle was just barely sitting up on her own. Now at nine months, she's starting to stand!

I love her curls and all that baby fat!

While Maya and Jenelle played with Mia's toys on one side of the room...

...Mia curled up with Daisy and a blankie to pass out on the other side!

Thanks for a tiring fun afternoon! Love hanging out with you girls!


linked up here:
Live, Love, TravelSweet Shot Day