


Garrett's popcorn is always a crowd favorite and I included it amongst the other finger foods at Mia's birthday party. Want to know how to make your own popcorn cones and display? It's free, easy and is a different way to serve a typical party food.


Cost: Free! because I had all supplies on hand. Gotta love DIY!
Supplies:
Paper - 7x11 for each cone (cut a bit off a normal sized piece of paper) My patterns are from SprikSpace.
Wax or Parchment Paper - a little bit smaller than the paper above
Boxes
Wrapping Paper
Tape
Instructions - Popcorn Cones
1. Hold bottom left corner (B) in your left hand. Take top right corner (A) with your right hand and roll it down and around/behind (B).
Note: Unlike the picture below, your pattern should be on the outside.
2. Roll (A) all around to the back and readjust until you get a cone shape. The tip of your cone can have a whole/opening in it at the bottom, as long as it's smaller than a popcorn kernel. (D) should end up being the top/opening of your cone and (C) should be the bottom.

3. With one piece of tape, seal the seam on the inside. With another piece of tape, seal the outside seam. The outside seam should end up on the backside of the cone. See how there's no seams from the front? 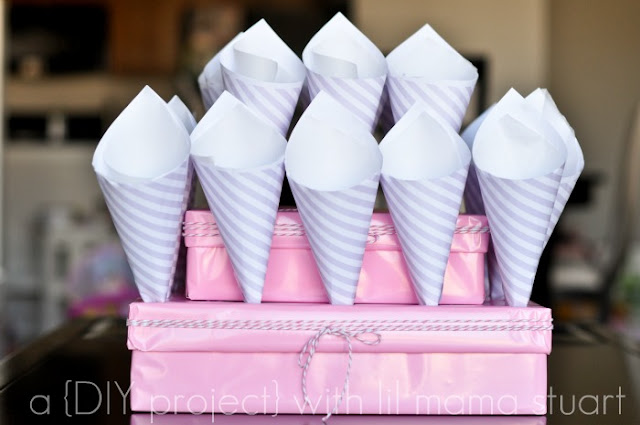

4. Repeat with remaining cones.
5. Because no one wants to see how greasy their snacks are, line the cones with wax or parchment paper. Similar to steps 1-2, make a cone shape with the wax paper and insert into paper cones. Tape in place if you need to, but it's probably not necessary, especially after you fill them. See how the wax paper isn't taped in?

Instructions - Popcorn Cone Display
1. Find a box in a size you like.
I happened to have two Janie and Jack boxes in similar shapes but different sizes. Perfect to add height to my table. Am I the only one that gets excited by boxes that nest nicely?
2. Estimate how many cones you can fit along each box. Mark spacing with a pencil
Note: The tops are wider than the base, so leave enough space between each. I held up a cone or two and eyeballed it.
3. Make Xes with an exacto knife where the cones will be inserted. Stick your finger in the Xes to open them up a little.
Note: Don't make the Xes too big! Just big enough for the tip of the cone to be inserted and stand steadily on it's own.
4. Repeat with remaining Xes. Put all your cones in and see how they stand/look.

5. Wrap boxes. Feel where the Xes are and poke inwards through the wrapping paper. Embellish boxes with ribbon, etc. Put loops of tape on the big box to affix the small box to it. Put all your cones in and see your finished product! 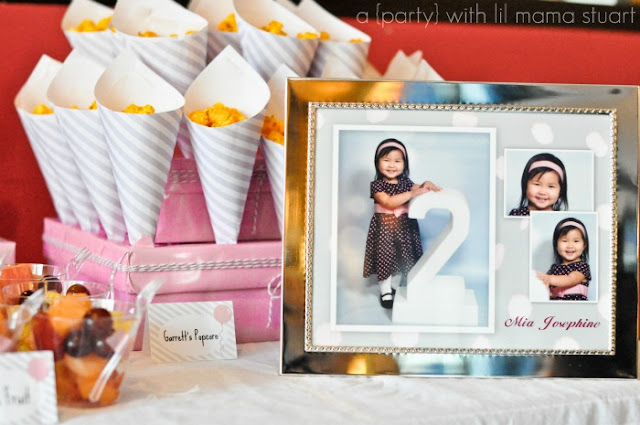


linked up here:


8 comments:
You are fantastic lil mama!
This is a brilliant idea! I am planning my daughter's 2nd birthday and debating making popcorn and this is convincing me that I should. :-)
thank you so much!
This is a cute idea. I'm doing my mom's party in a week. How much popcorn do you think can fit in those cones? I'm making ahead for the cones.
Alayna - maybe a cup? I didn't measure it out, but the perfect size for one portion.
I had a big bag of popcorn and extra cones in the back and they were refilled as necessary throughout the party.
Does corner C not end up in front? I have the seam coming towards the front/bottom of cone.
Deb - are you using a full sheet of paper? Or did you cut it down like the instructions say? "Paper - 7x11 for each cone (cut a bit off a normal sized piece of paper)" That might be the problem? Or you might just have to play around with how the paper moves/is shaped when you roll it. Hope that helps!
Thhank you
Post a Comment