Yesterday I showed you how to watermark an image without using Photoshop. Today I have a tutorial on how to make your own blog buttons/picture tiles with active links.
Note 1: My blogging platform is Blogger, which uses Picasa for hosting pictures.
Note 2: I have no experience with html but have taught myself some basics through 2 years of blogging.- Go to fotoflexer.com and upload your image.
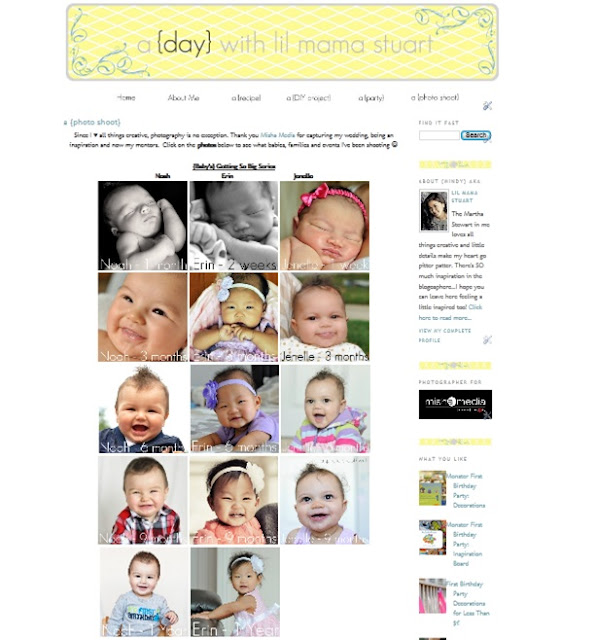
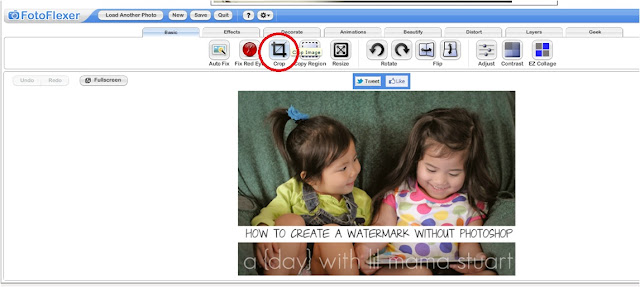
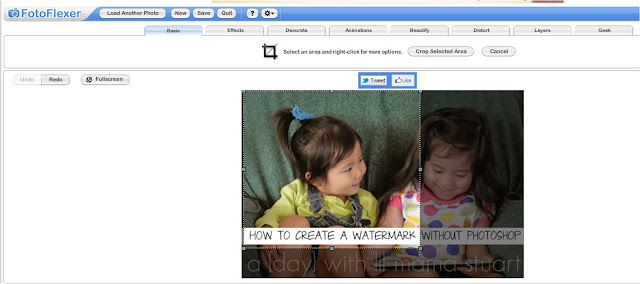
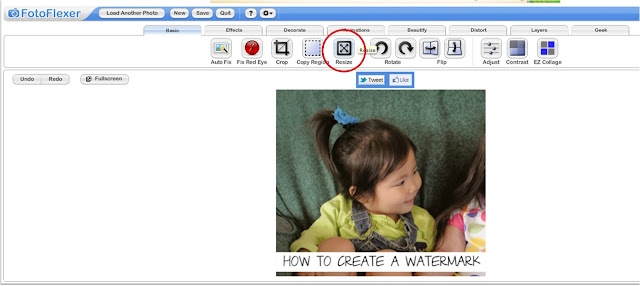
- Crop image to desired dimensions. Buttons are typically a square. Unlike picnik.com, there's no option to crop to a square so I eyeballed it. Then I clicked on resize, UNchecked the "keep proportions" box, and made the dimensions equal (to be a square). My initial guess was close, so distortion is minimal.
- Add text if you want.
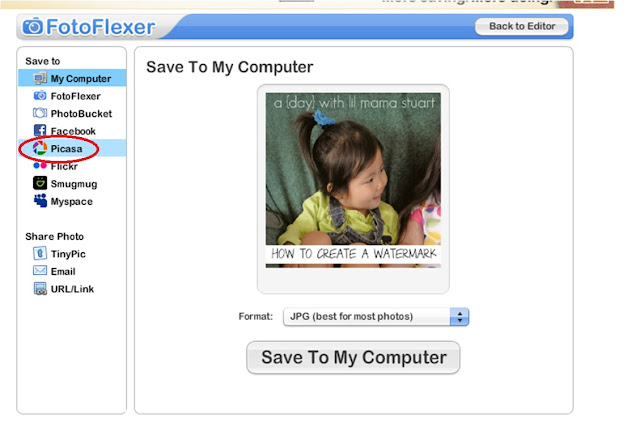
- Save it to picasa (or your photo hosting site, instead of your desktop). I made a separate picasa album specifically for thumbnails for ease of access.
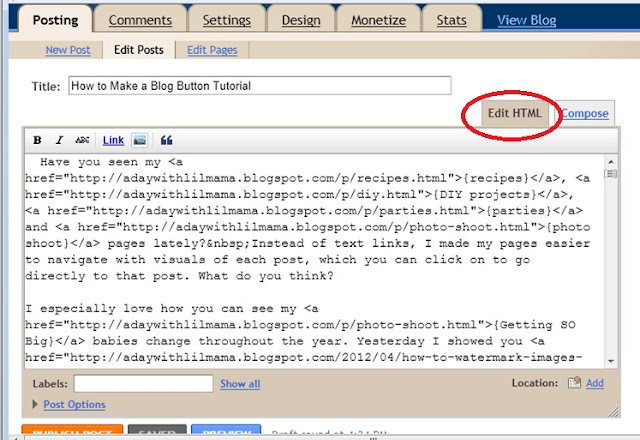
- Open up your post/page where you want the button to go and use the following code in “edit html” (not “compose”).
<a href="http://YOUR LINK HERE.html"><img src="https://IMAGE LINK HERE.jpg" width="183" /></a>
Note 1: There are three highlighted areas:
i. The link you want to send the reader to, ending in .html.
ii. The picture that you want to be shown with the link, ending with .jpg.
iii. The width of the button/image. See note below.
Note 2: Buttons are typically 150 x 150 (to easily put on sidebars). I have my width set to 183 so that I can stack 3 images on one line because the width of my body is roughly 550 (=183x3).
You should know what the width of your blog body is or just play around with different numbers until you get the size you want.
You should know what the width of your blog body is or just play around with different numbers until you get the size you want.
Note 3: My friend Christine’s post taught me the difference between “curly” and “straight” quotations. Check this post if your button doesn’t work. Christine also tells you how to write your code for others to grab and use your blog button.
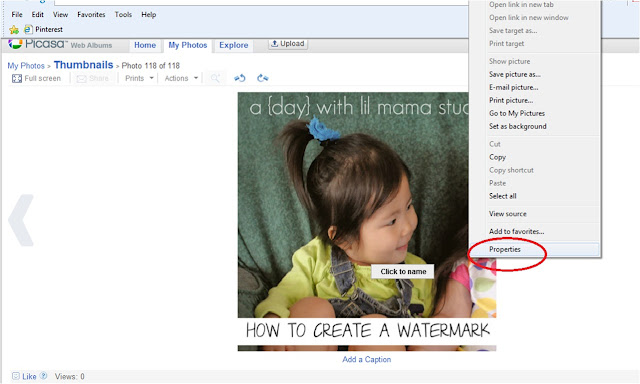
- Go to picasa and select your square picture from the album you saved it in.
- Click the picture to view it full size.
- Right click and select “properties”.
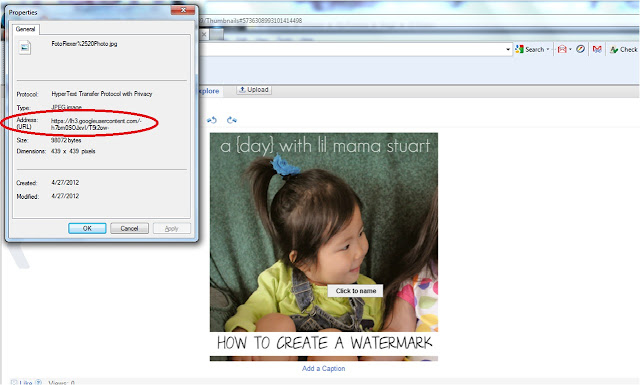
- Copy the “URL/address”, which should end in .html. Double click on the address to select and copy the entire URL because the URL is longer than what is shown (which is why you can't see the ".html" below).
- Paste the address of the picture into your code where highlighted.
- Paste the address of the link you want your reader to go to into your code where highlighted.
<a href="http://YOUR LINK HERE.html"><img src="https://IMAGE LINK HERE.jpg" width="183" /></a>
Test it out! Click on your picture. Does it go where you wanted it to? If not, double check your code to see if you missed something. Ta-da! You just edited some html and made a blog button (picture that when clicked, directs your reader to a link).























3 comments:
this is a great tutorial! You should share this with my Tips & Pics link up today!
when i have more time, i am going to reread this. i would love to have a button with the littles on it.
salam kenal bos. lagi jalan jalan pagi nih
Post a Comment